
A Sane CUDA Toolkit and cuDNN Setup, Step by Step
Introduction
I have set up GPU environments for image processing work more times than I can count — on workstations, lab machines, and cloud VMs — and I still treat every fresh CUDA install with suspicion. The failure mode is always the same: everything seems installed, nvidia-smi shows a GPU, and then the framework silently falls back to CPU or crashes at the first convolution because some layer of the stack does not match.
Deep learning frameworks rely heavily on GPU acceleration to stay competitive, and NVIDIA’s cuDNN library is the performance back‑end that most frameworks—TensorFlow, PyTorch, MXNet, and others—use under the hood. While the framework itself often handles the heavy lifting, getting the initial environment right—installing the CUDA Toolkit and cuDNN correctly—can save developers hours of debugging. This post walks through the workflow I settled on for setting up the CUDA Toolkit and cuDNN on a fresh workstation or cloud VM, focusing on environment variables, directory layout, and verification steps.
What cuDNN Adds
cuDNN exposes highly optimised kernels for convolutional layers, fully connected layers, recurrent networks, and more. The library provides a thin, uniform API over highly tuned GPU kernels, calling into the CUDA driver and GPU runtime (cuDNN targets NVIDIA GPUs specifically); the majority of the scientific computing remains in the hands of the deep‑learning framework. Nevertheless, the library must be present where the compiler can find headers and where the link directory is discoverable. The official cuDNN developer guide outlines these requirements precisely and emphasizes that the library’s performance scales with the matched CUDA version and GPU architecture.
Installing the CUDA Toolkit
- Choose a supported distribution – The CUDA Linux packages are available for Ubuntu and CentOS.
- Download the runfile – From NVIDIA’s CUDA Toolkit archive, pick the version that matches your GPU driver. Use the full runfile installer for an offline setup, or the network installer (the
.deb/.rpmrepository packages) if you prefer a minimal install managed by your package manager. - Run the installer –
Select the CUDA Toolkit, and refrain from installing the CUDA Driver if your system already has a recent driver that satisfies the minimum requirement. (The sample programs are no longer bundled with the installer; they live in NVIDIA’ssudo sh cuda_<version>_linux.runcuda-samplesrepository on GitHub these days.) - Verify the compiler – After installation, the toolkit installs
nvccin/usr/local/cuda/bin.nvcc --version
By default, the toolkit installs the runtime library into /usr/local/cuda/lib64 and the headers into /usr/local/cuda/include. NVIDIA’s own documentation shows these paths and explains that the CUDA_HOME environment variable can point to the installation directory.
Installing cuDNN
cuDNN is distributed as a compressed archive (cudnn-linux-x86_64-<version>_cuda<major>-archive.tar.xz). Extract it and copy the headers and libraries into the same /usr/local/cuda prefix you used for the toolkit:
tar -xvf cudnn-linux-x86_64-<version>_cuda<major>-archive.tar.xz
sudo cp cudnn-*-archive/include/cudnn*.h /usr/local/cuda/include
sudo cp -P cudnn-*-archive/lib/libcudnn* /usr/local/cuda/lib64
sudo chmod a+r /usr/local/cuda/include/cudnn*.h /usr/local/cuda/lib64/libcudnn*
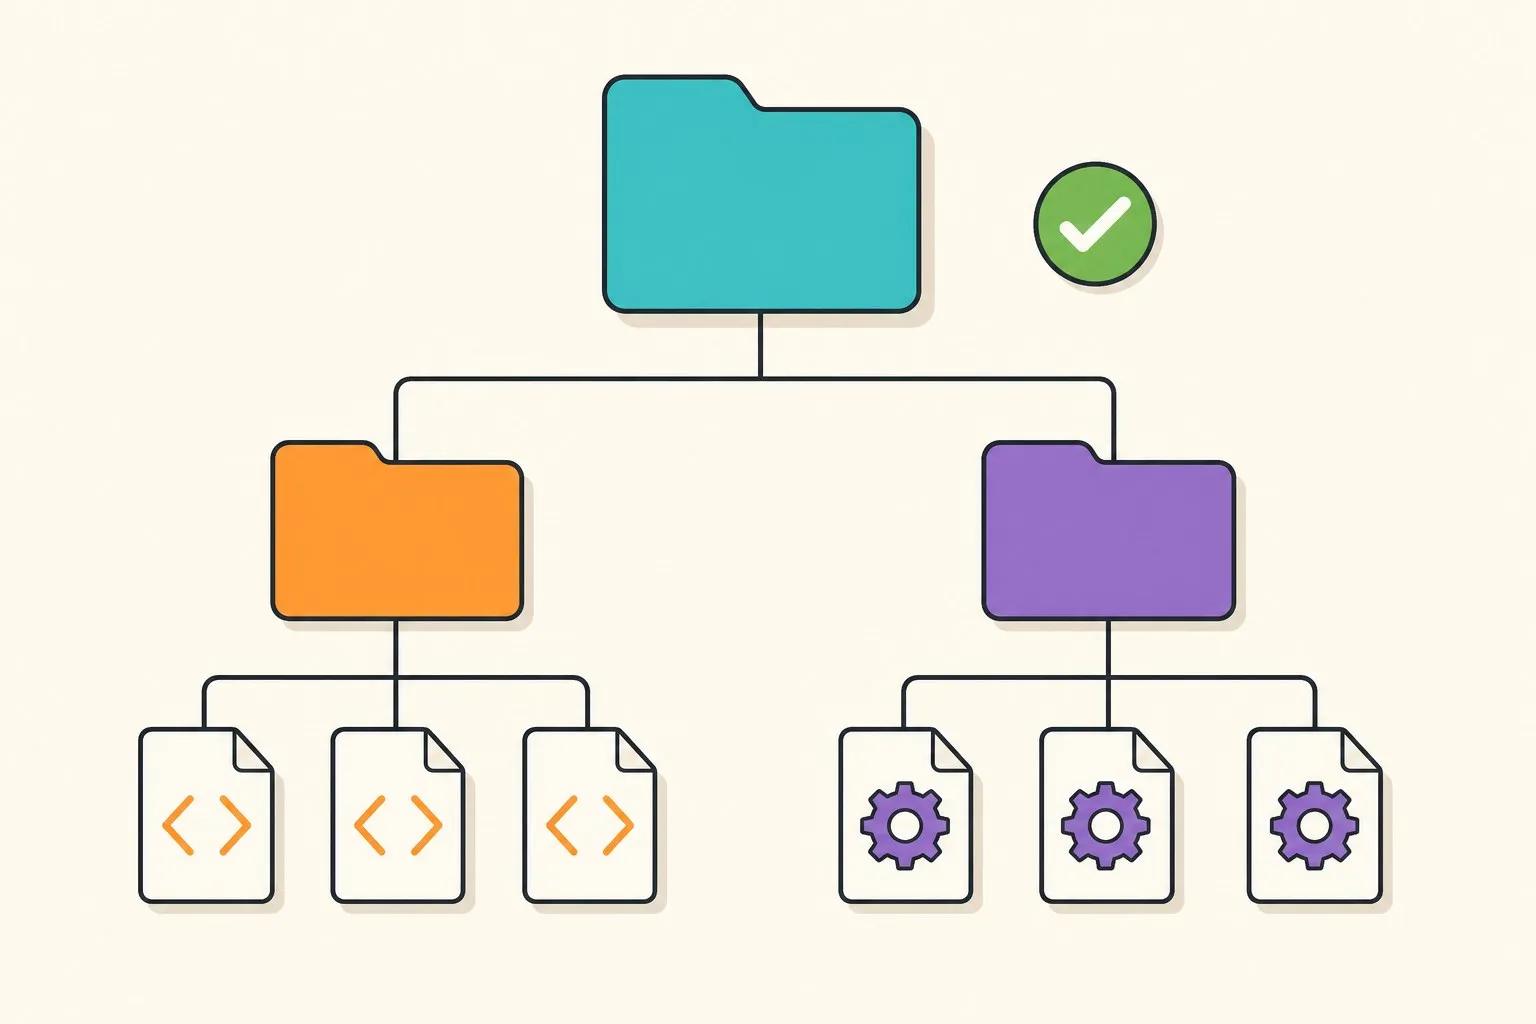
The extraction creates a cudnn-*-archive folder containing include and lib directories; copying them into /usr/local/cuda keeps everything discoverable under one prefix. Two details matter here. The -P flag preserves the symbolic links between the versioned library files — omit it and every .so symlink turns into a full duplicate copy. And if you are following an older tutorial that says the archive extracts to a plain cuda/ folder with a lib64 directory: that was the legacy .tgz layout used up through cuDNN 8.2, and it no longer matches what NVIDIA ships.
Configuring the Environment
The compiler and linker need to know where to find the CUDA and cuDNN headers and libraries. Two environment variables are essential:
| Variable | Purpose | Typical Value |
|---|---|---|
CUDA_HOME | Base path to CUDA installation | /usr/local/cuda |
LD_LIBRARY_PATH | Runtime lookup path for shared objects | $CUDA_HOME/lib64 |
Add these to your shell profile (~/.bashrc or ~/.zshrc), then re‑source:
export CUDA_HOME=/usr/local/cuda
export LD_LIBRARY_PATH=$CUDA_HOME/lib64:$LD_LIBRARY_PATH
You can also add $CUDA_HOME/bin to your PATH to make utilities like nvcc directly executable.
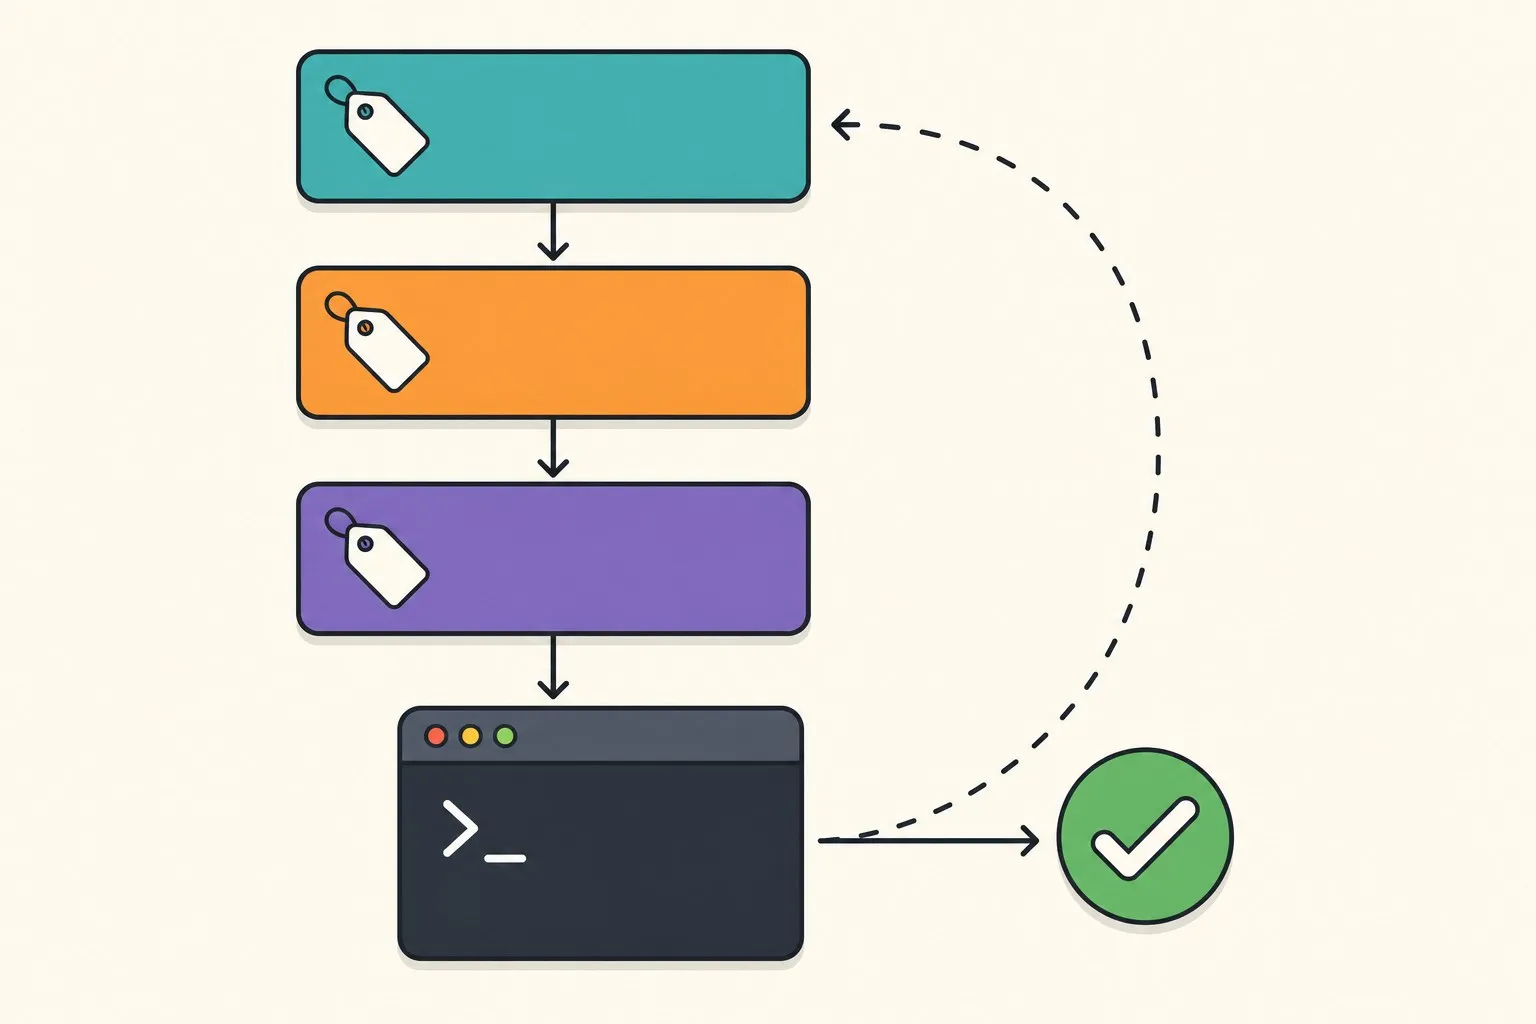
A handy checklist for setting up your environment is listed below:
- Ensure
$CUDA_HOMEpoints to the correct toolkit directory. - Prepend
$CUDA_HOME/bintoPATH. - Prepend
$CUDA_HOME/lib64toLD_LIBRARY_PATH. - Run
nvidia-smito confirm the GPU driver is active and the kernel identifies the CUDA version. - Verify that the cuDNN headers exist in
$CUDA_HOME/include/cudnn.hand that the shared library$CUDA_HOME/lib64/libcudnn.sois present.
Verifying the Installation
After setting the paths, compile a minimal C++ program that uses cuDNN:
#include <cudnn.h>
#include <iostream>

int main() {
    cudnnHandle_t handle;
    cudnnCreate(&handle);
    std::cout << "cuDNN initialized successfully.\n";
    cudnnDestroy(handle);
    return 0;
}
Compile and run it, pointing the compiler at your CUDA include and library paths:
g++ check_cudnn.cpp -o check_cudnn \
    -I$CUDA_HOME/include -L$CUDA_HOME/lib64 -lcudnn
./check_cudnn
If you see cuDNN initialized successfully., the headers and shared library are correctly wired up. In most projects, though, you will validate through your framework rather than raw C++. A quick PyTorch check is usually enough:
import torch
print(torch.__version__)
print("CUDA available:", torch.cuda.is_available())
print("cuDNN enabled:", torch.backends.cudnn.is_available())
print("cuDNN version:", torch.backends.cudnn.version())
If torch.cuda.is_available() returns True and a cuDNN version prints, your stack is ready for GPU-accelerated training.
Common Pitfalls
Every one of these has personally cost me an afternoon at some point:
- Version mismatch – cuDNN must match your CUDA Toolkit major version, and both must be supported by your installed GPU driver. Check the official support matrix before downloading — before, not after the framework starts throwing
CUDNN_STATUS_NOT_INITIALIZEDat you. libcudnn.sonot found at runtime – This almost always meansLD_LIBRARY_PATHwas not updated in the current shell; re-source your profile or open a new terminal.- Multiple CUDA versions – If you have several toolkits installed, make sure
CUDA_HOME,PATH, andLD_LIBRARY_PATHall point to the same one. The sneakiest variant is whennvcc --versionreports one toolkit while the runtime linker loads libraries from another — always verify both. - Framework-bundled CUDA vs. system CUDA – Modern PyTorch pip wheels ship their own CUDA runtime libraries. That means
torch.cuda.is_available()can returnTrueeven when your system-level toolkit is broken — fine until the day you need to compile a custom extension against the system toolkit and discover the mismatch.
Conclusion
A correct CUDA and cuDNN setup is mostly about three things: matching versions (driver ↔ toolkit ↔ cuDNN), putting the headers and libraries where the compiler and linker expect them, and exporting CUDA_HOME, PATH, and LD_LIBRARY_PATH consistently. Get those right once, verify with nvidia-smi and a quick framework check, and you can stop fighting your environment and get back to training models. When in doubt, the NVIDIA CUDA and cuDNN documentation and their version support matrix are the authoritative references.